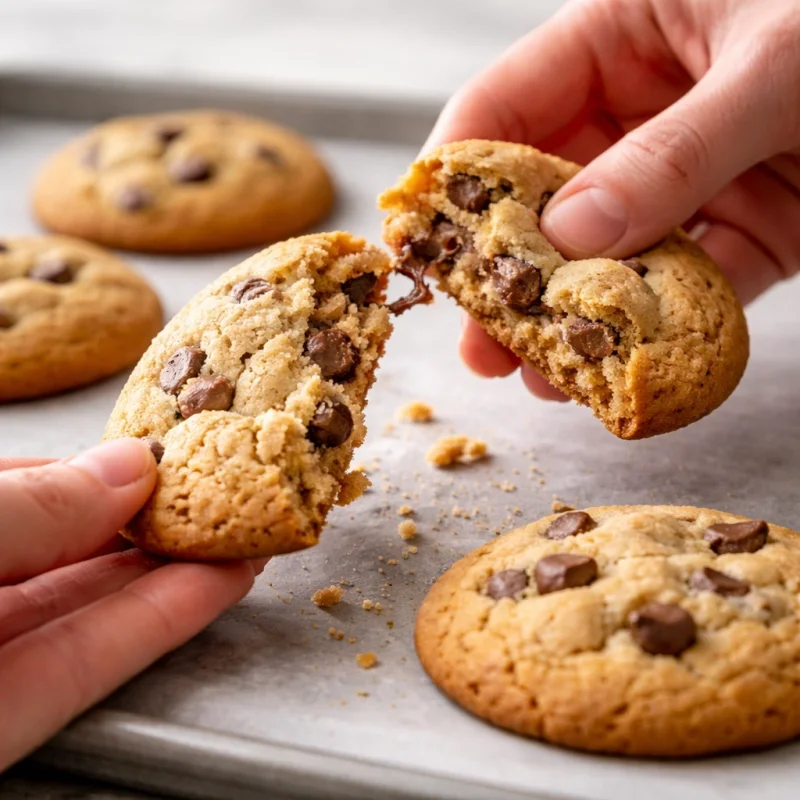
Why cookies turn hard: First separate dryness from toughness
Cookies do not become hard only because they were “left in the oven too long.” A hard result can come from excessive moisture loss during baking, too much flour relative to the rest of the formula, an overly resistant dough structure, or a combination of these factors. Start by identifying the texture you actually have: a dry, brittle cookie needs a different correction from a dense, tough cookie.
Soft, tender, crisp, and hard are not the same thing
Four different outcomes are often lumped together:
- soft – the center gives slightly under pressure and does not seem dry;
- tender – the cookie breaks cleanly with little force, but is not necessarily moist;
- crisp – the surface or the entire cookie has a dry snap and an obvious crisp bite;
- hard or tough – biting requires a lot of force and the texture feels rigid or rubbery-resistant.
That distinction matters. A tender cookie can be fairly dry and still pleasant, while a tough cookie can contain enough water but have a structure that is simply too resistant.
1. Excessive moisture loss during baking
Time and temperature do not act independently. Moisture loss is also affected by cookie thickness, starting dough temperature, the amount and type of sugar, portion size, baking sheet, and the oven’s real temperature.
That is why “a hotter oven makes a softer cookie” is not a reliable general rule. Research on model cookies shows that moisture and hardness change with time, temperature, and formulation together, not with a single oven setting.
On the next bake, watch mainly for:
- how quickly the edge colors;
- whether the center is structurally set or still fluid;
- how much the cookie spreads;
- how the texture changes after full cooling.
Cookies firm as they cool. Do not judge final hardness only while they are hot on the tray, and do not wait until they feel as firm in the oven as you want them to feel when cool.
2. Too much flour or inaccurate measuring can shift the formula fast
Flour is not a neutral “dry ingredient.” Its starch and proteins take up part of the water, while flour also builds the framework of the dough. If there is too much flour relative to fat, sugar, eggs, and other liquid, the dough is usually stiffer, spreads less, and can bake into a dry or dense cookie.
One of the biggest practical errors is measuring flour by feel or by a packed cup. The same cup can hold very different flour weights depending on how it is filled.
For repeatable results, weigh flour. If a recipe you know suddenly produces a harder batch, first check the flour weight, egg size or liquid amount, and individual portion weight before changing several ingredients at once.
3. A tough cookie is not the same as an overbaked cookie
In classic cookie dough, fat and sugar limit gluten-network development, but mixing still affects dough rheology and final texture. Research shows that hardness can change with mixing time, but the relationship is not simple enough to justify one universal mixing time.
Use a process limit instead:
- mix fat, sugar, and eggs as the specific formula requires;
- after adding flour, mix only until dry pockets disappear and the dough is homogeneous;
- do not use extra mixing as a way to “fix” dough that feels too stiff.
4. Sugar and fat control structure, not just flavor
The amount and type of sugar and fat influence dough spread, porosity, structural thickness, and bite. Replacing white sugar with brown sugar, changing the fat, or reducing sugar is therefore not just a sweetness adjustment.
Brown sugar can contribute to a softer or chewier texture in some formulas because of its composition, but this is not a universal rule. The result depends on the complete recipe, water level, type of fat, and bake.
The same applies to fat: more fat does not automatically mean a softer cookie. It can change spread, aeration, and tenderness, so any change has to be judged within the whole formula.
5. Dough rest is a tool, not a mandatory number
Resting can change flour hydration, fat temperature, and the way dough spreads. But 30, 60, or any other fixed number of minutes is not a universal requirement for every cookie.
A rest makes sense when the recipe uses it for a specific goal:
- cooling the dough so it spreads less;
- allowing dry ingredients to hydrate more evenly;
- making soft dough easier to shape;
- developing flavor in formulas designed for longer maturation.
If the recipe does not need a rest and spread is already correct, extra chilling is not an automatic fix for hardness.
Quick diagnosis for the next batch
| Symptom after cooling | Check first | First safe correction |
|---|---|---|
| Cookie is dry, edge deeply browned | bake progression and moisture loss | shorten the bake or verify actual oven temperature; do not change the formula at the same time |
| Cookie is dense, spreads little, seems dry | flour weight and portion weight | weigh the flour and compare the ratio with the original recipe |
| Cookie is tough or resistant when bitten | mixing after flour is added and flour type | reduce unnecessary mixing; do not add extra flour just for easier handling |
| Edge is pleasantly tender, center too hard | bake endpoint | judge only after cooling and end the next batch slightly earlier based on the same visual signs |
| Good on day one, hardens quickly later | storage and moisture migration | store fully cooled cookies airtight; for filled cookies also consider the properties of the filling |
How to make the next test useful
The most reliable PEK approach is a small controlled test:
- Keep the same recipe.
- Weigh the ingredients and record the weight of each portion.
- Bake one or two test cookies.
- Record the actual time, oven setting, and edge appearance.
- Judge the cookie only after cooling.
- In the next batch, change only one main variable.
This tells you whether the problem came from the bake, flour, mixing, or the formula. If you reduce flour, switch sugar, and shorten the bake at the same time, you may get a better cookie, but you will not know why.
The most important decision
With a hard cookie, do not look for a “hack” first. Classify it first:
dry → check moisture loss; dense → check the flour ratio; tough → check structure development; simply too crisp → check the bake target and formula.
Once you identify the type of hardness correctly, the correction becomes smaller and more repeatable. That is the difference between randomly softening a recipe and actually controlling cookie texture.
Diagnostics
Common problems and solutions
The cookie is dry and very hard, with a deeply browned edge.
The cookie is dense, thick, spreads very little, and seems dry.
The cookie is not especially dry but feels tough when you bite it.
The edge is pleasantly tender but the center becomes too hard after cooling.
The texture is good on day one but the cookies harden quickly afterward.
Technical terms
Terms worth understanding
- tenderness
- The ability of a cookie to break cleanly with little force; it is not the same as dryness.
- toughness
- A resistant, less pleasant texture that requires more force to bite and break.
- spread
- The increase in diameter or change in shape of cookie dough during baking.
Frequently asked questions
Answers to common questions
Why are cookies harder after they cool than they were in the oven?
As cookies cool, fat firms again while dissolved sugars and the starch structure stabilize. A hot cookie is therefore a poor final measure of texture. If you wait until it feels fully firm in the oven, some formulas can end up harder than intended after cooling.
Are hard cookies always caused by overbaking?
No. Overbaking or excessive heat is only one cause. Too much flour, different dough spread, or an overly resistant structure can also produce a hard result. First distinguish a dry cookie from a dense or tough one.
Does brown sugar always make cookies softer?
Not as a universal rule. Brown sugar has a different composition and can contribute to a softer or chewier texture in some formulas, but it also changes sweetness, water balance, spread, and color. Its effect has to be judged within the whole recipe.
Do I always need to rest cookie dough for 30 or 60 minutes?
No. Resting is a tool for a specific goal, such as chilling the fat, making soft dough easier to handle, or evening out hydration. The time should come from the specific recipe; one number does not fit every cookie.
How can I tell whether I added too much flour?
The best evidence is ingredient weight. Compare the flour you actually weighed with the recipe and observe spread. Very stiff dough, limited spread, and a dense result are reasons to check the flour, but they do not prove flour is the only cause.
How can I test a correction without ruining a whole batch?
Keep the same formula and bake one or two test cookies with the same portion weight. After full cooling, judge hardness, spread, and color. Then change only one main variable and repeat the comparison.