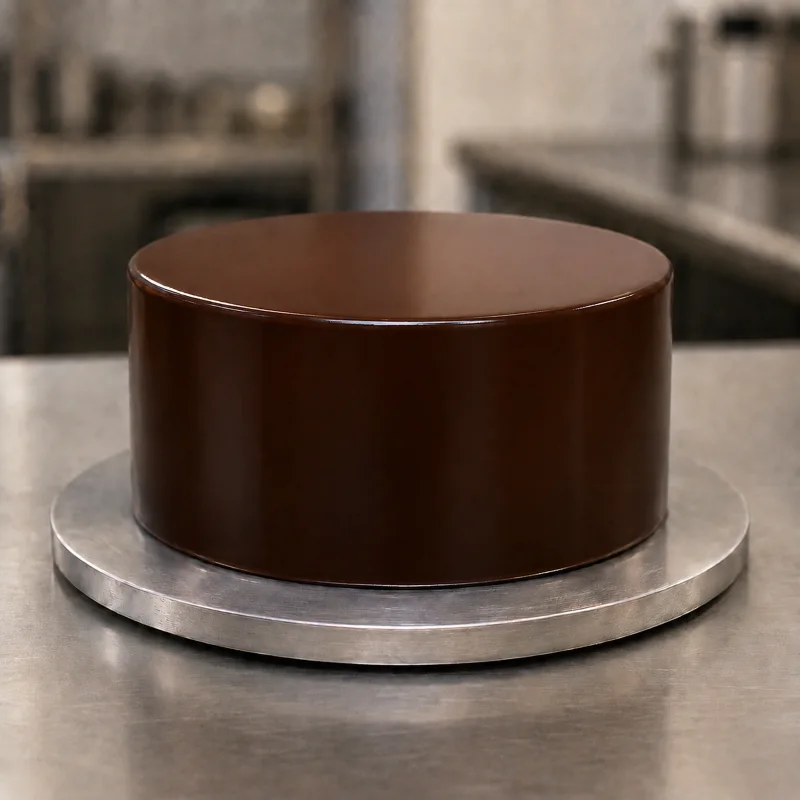
Why a smooth glaze can turn patchy or wavy after it is poured
Chocolate glaze can look flawless in the bowl and show waves, dull patches or an oily edge a few minutes later. The fault is often not the pouring motion itself. It is more likely to be the chocolate-to-liquid balance, the quality of the emulsion, trapped air, or the relationship between glaze temperature and cake temperature.
Gloss has more than one mechanism. In a ganache glaze, a finely dispersed and stable emulsion creates a smooth surface that reflects light evenly. With pure couverture, shine depends much more directly on stable cocoa-butter crystallization. A shiny ganache coating and a tempered chocolate shell therefore should not be treated as the same system.
If the glaze is already lumpy, grainy or oily, start with the chocolate glaze troubleshooting guide. For the emulsion itself, see the smooth, stable chocolate ganache guide.
The ratio that gives you flow without the glaze sliding off
A pourable ganache coating needs different chocolate-to-cream ratios for dark, milk and white chocolate. Their cocoa solids, cocoa butter, sugar and milk solids are different, so one universal ratio is not technically sound.
| Chocolate | Chocolate | 32–36% cream | Starting application range |
|---|---|---|---|
| Dark chocolate, 55–65% | 100 g | 100 g | about 30–35 °C / 86–95 °F |
| Milk chocolate | 120 g | 100 g | about 28–30 °C / 82–86 °F |
| White chocolate | 140 g | 100 g | about 26–28 °C / 79–82 °F |
These are formulation starting points. Adjust for the actual couverture's fluidity and the manufacturer's guidance. Glucose syrup can improve flow and flexibility in some formulas, but it is not something to add blindly after a glaze has already gone wrong.
Test the ribbon from a spatula. Proper glaze should fall as a broad, continuous band and level itself. A tall ridge means it is too cold or too thick. A thin watery puddle means it is too warm or too fluid.
Build the emulsion without adding air
Warm the cream or other liquid phase according to the formula. Chop chocolate finely and evenly, then add the hot liquid in stages. Mix from the center outward until a small, elastic, glossy core forms.
Keep the immersion blender fully submerged at all times. Lifting the blade toward the surface pulls in air that later appears as pinholes and bubbles. Once homogeneous, pass the glaze through a fine sieve when needed.
Match glaze temperature to the cake
Temperature controls viscosity, setting speed and self-leveling. For many professional chocolate glazes, starting ranges are roughly 30–35 °C for dark, 28–30 °C for milk and 26–28 °C for white, but the specific recipe always comes first.
An ordinary cream-based ganache glaze does not require a frozen cake. The cake should be well chilled, firm, smooth and completely dry; around 4–8 °C / 39–46 °F is a practical refrigerated range. A frozen substrate is a defining part of many purpose-built mirror glaze systems and should be used only when that formula calls for it.
Condensation is a warning sign. If moisture forms on the cake, let the surface dry before glazing.
Pour the cake without visible touch-ups
The base must be smoother than you expect the glaze to make it. A thin coating will not fill deep dents, loose crumbs or uneven edges. Coat the cake evenly with ganache or buttercream and chill until firm.
For a round cake about 20 cm / 8 in across and 8 cm / 3 in high, prepare roughly 450–550 g / 16–19 oz of glaze. Some will run onto the tray, but enough volume lets you make one continuous pour instead of topping up bare areas later.
Set the cake on a rack over a clean tray. Start pouring in the center and guide the stream slowly toward the edge. Once the glaze reaches the rim, it should fall down the sides in an even curtain. If the top needs help, use one single pass of a long straight spatula immediately after pouring. A second or third pass drags partially setting glaze and creates waves.
Clean the bottom edge after about 5–10 minutes, when dripping has stopped but the coating is not fully firm.
Keep the shine through chilling, storage and slicing
Leave the freshly glazed cake for about 10–15 minutes at 18–20 °C / 64–68 °F, then refrigerate it. Avoid tight covering for the first 15–20 minutes, because trapped moisture or contact with a lid can mark the soft surface.
Transport the chilled cake in a closed box. Before serving, let it sit in the box for roughly 20–30 minutes so the surface warms more gradually and condensation is less likely.
For clean slices, use a warm, completely dry knife. Wipe and rewarm the blade before every cut. A cold or wet knife tears the coating; an excessively hot blade melts it and leaves a dark smear.
Before the final pour, check three things: the cake is cool, firm and dry; the glaze is in the working range of its formula; and it falls from the spatula in a continuous ribbon. When all three are right, pour once and let the glaze level itself.
Diagnostics
Common problems and solutions
Waves in the glaze
Cause: The glaze is too thick or too cool, or it was worked after it had started to set.
Glaze slides off the cake
Cause: The glaze is too warm or too fluid, or the cake surface is too soft or damp.
Frequently asked questions
Answers to common questions
Does the cake have to be frozen before glazing?
Not for an ordinary ganache glaze. The cake should be cool, firm and dry; a frozen substrate is typical of specially formulated mirror glazes when the recipe requires it.
Why does the mixture thicken when cream is added to chocolate?
Initial thickening can be a normal stage of emulsion formation. Mix from the center and incorporate the liquid gradually until a smooth, glossy core forms.
Can I reheat chocolate glaze?
Yes, if the cooled glaze remains homogeneous. Warm it gently in short steps, re-emulsify without introducing air, and return it to the working range of your formula before pouring.
How thick should chocolate glaze be on a cake?
An even layer of roughly 2–3 mm usually covers well while remaining easy to cut.